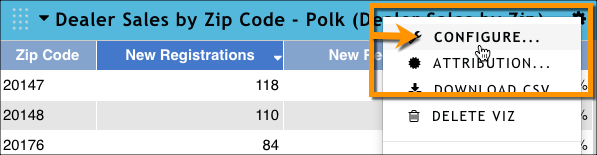
There are a few customizations you can make to tables in your presentation. To make any of these customizations, you must open the configuration dialog box by clicking the gear icon at the top of the table, and then clicking Configure.
Change the title
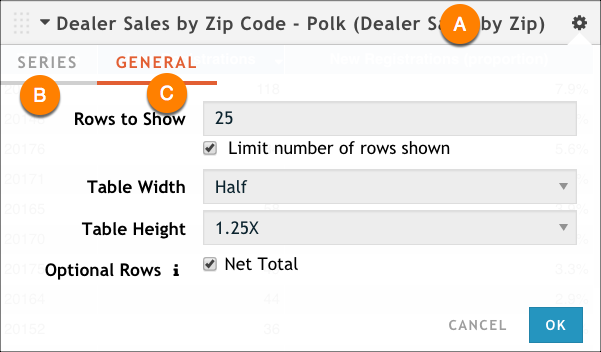
Click the current title (A) to make it an editable text box. Make any updates you want, and then click OK to save your changes.
Customize the columns displayed
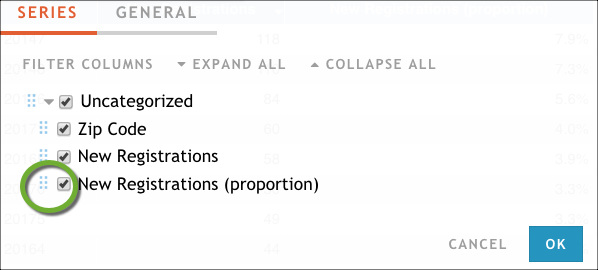
Use the Series tab (B) to make changes to the columns that are currently displayed in your table. You can clear any columns you don't want to see, as well as rearrange the order of the columns. To reorder the columns, simply grab the blue handle to the left of the check box and drag the column up or down.
Change the size, Limit the Rows, or add a Net Total row
Use the options on the General tab (C) to change the table height and width. For more information, see Customize a Rhiza Basic presentation.
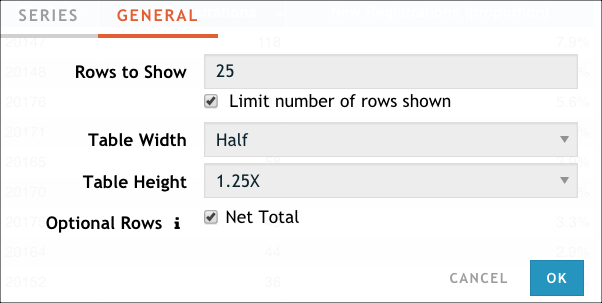
If you want to change the number of rows shown in the table, use the Rows to Show and Limit number of rows shown options. In the graphic shown below, the number of rows shown is limited to 25, so both options are used in conjunction.
The Net Total option adds a Net Total row to the bottom of your table. This row calculates the net total for all responses, not just those shown in the table (important to know if you decide to use Rows to Show to restrict the results), and it takes into account situations where a respondent has selected more than one answer for a question (important to know if you are working with a survey-style dataset).